In case you didn’t know, I’ve got two little boys who have Colorado mountain names. Their names weren’t totally on purpose – at least not our oldest boy – but when we realized the connection, we just went with it. And there’s a better story here, but the fact that Colorado is tied to my becoming a mother, and my boys, makes my heart all fuzzy.
But back when we were living in California, and my boys started sharing a room, I couldn’t think of a better theme for their room than mountains. But since we were living in a rental, I didn’t want to paint on their walls. So I made this giant wall art for their room. But, since we bought the TomBugalow, I wanted to paint a mountain mural in their room. Mountain boys need a mountain mural.

I KNOW that might look like it would be super complicated; I promise, it’s not. But how I did it, and how you should do it, shouldn’t be the same. Learn from my mistakes.
I started with a gallon of base paint that was suppose to match the color already on the walls. I found out afterwards, that it was a bit too blue. Which is why my mountains have more blue tones that I was going for. That being said, I don’t actually mind it anymore. If I was to do it again, I might actually go with green tones, or legit black / gray tones (which is what I was going for, but….
I bought a gallon of paint and then just added black paint to portions to make the four different colors. DO NOT DO THIS. Not only do I not have touch up paint, but I couldn’t recreate these colors if I tried. If I have to touch it up, I might end up having to go over all of the mountains.
Do yourself a favor and just buy 4 (or 5) quarts in the all colors you want (about a quart a color, depending on the size of your wall).
I put up painters tape to keep my mountain mural just on one wall and to keep the baseboards free from paint.
I chose this image from Pinterest as my inspiration. I think it always helps to have something visual to look at, even if you don’t copy it exactly. I started this project with smooth lines for the mountains, but after painting the first two mountains, realized I like the look of ‘tree lines’ better than a smooth line. All I did was paint horizontal strokes right next to each other, making the mountain line. After I painted the top of the mountain, I went back over with a mini roller and filled in everything below the line.


And it might be worth noting, I started at the top and worked my way down. It was just easier for me to paint the mountain line, then paint a ways down on the wall, and THEN layer the second mountain line onto the wall.

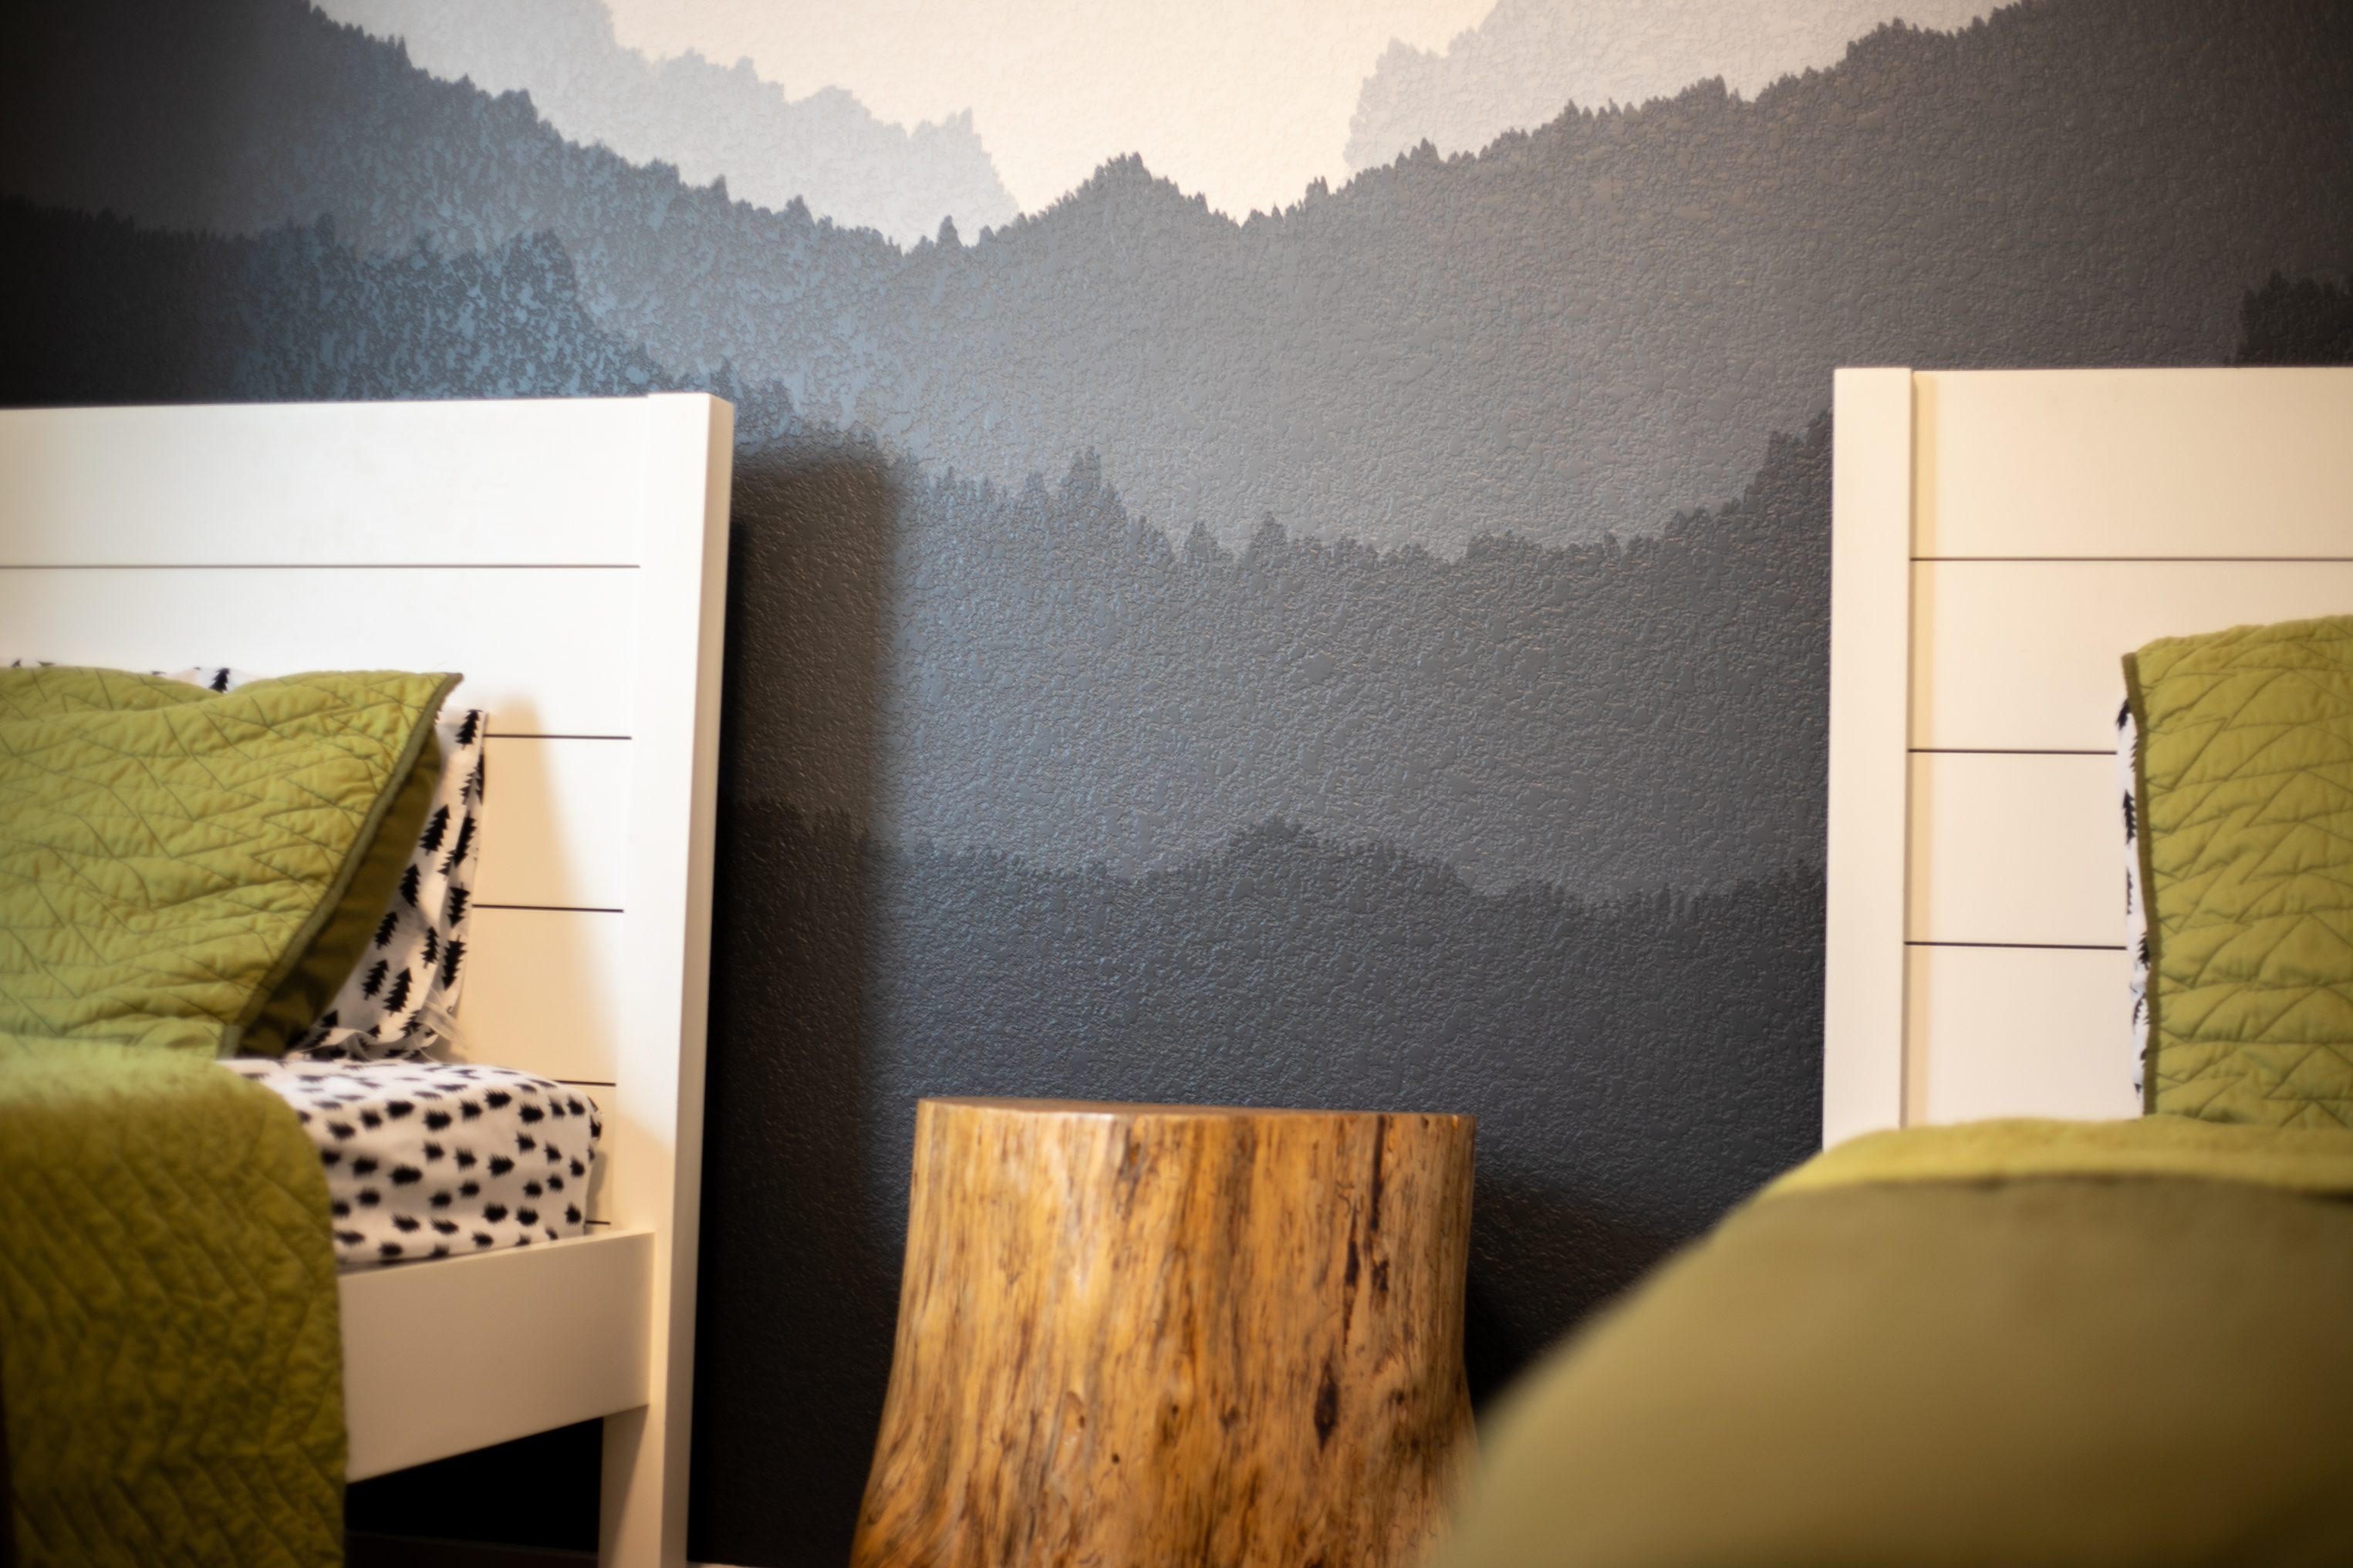
This picture is a great example of why you should just buy premixed pints of your colors. You can see slightly different shades in that middle gray because I mixed the paint, and not a professional.


Even though everything didn’t turn out exactly as I had planned, I still love it. I’m on the hunt for battery operated, whimsical star lights (white) to hang up in the dead space above the mountains, so if you know of any… But other than that, because of the mural, my mountain bros room looks pretty good. Especially for a room where all they do in it is sleep….
NOTE: All of the boys clothes and shoes are in the closet on the opposite wall of the mural. For now, it’s works and they don’t need a dresser in their room.
ITEMS
bed frames | Crate&Kids
sheets | Black Trees Sheets by Pillowfort™ at Target
quilts | Green Triangle Stitch Quilt by Pillowfort™ at Target
rug | Home Goods
wooden stump | off the side of a road in California (I striped the bark, sanded it down and covered it with polyurethane)
book shelves | IKEA
cork bulletin board | Target